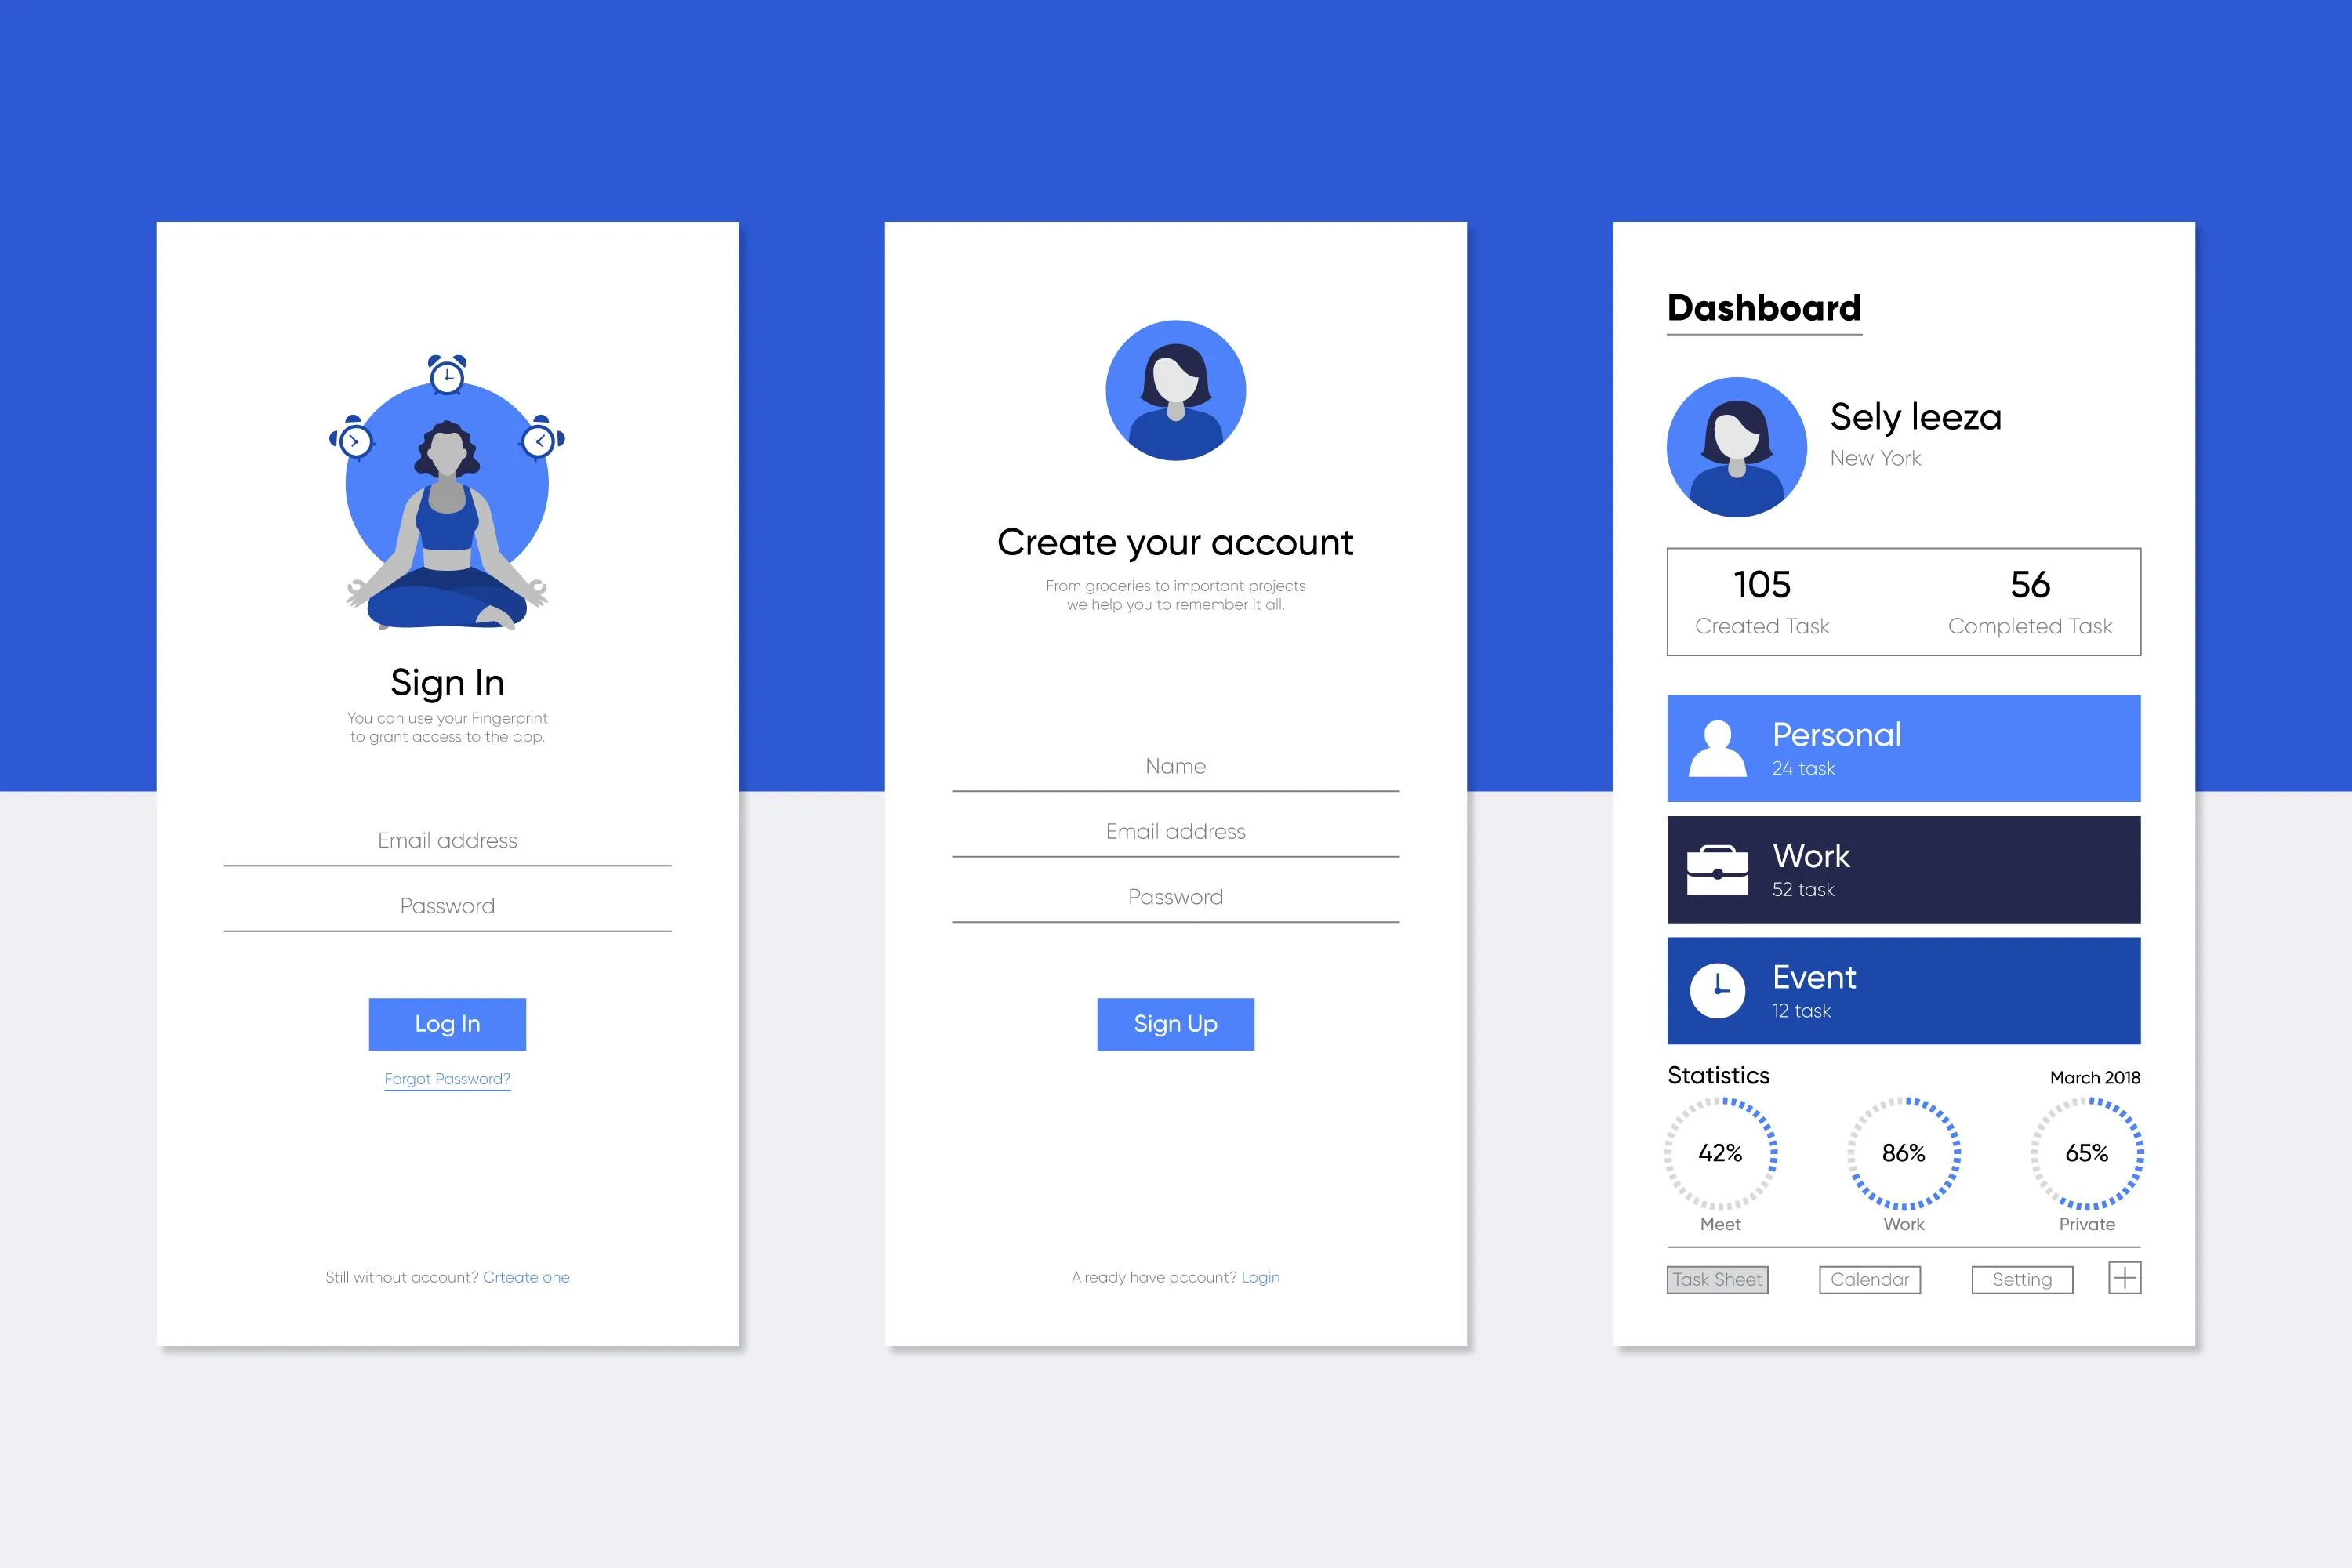
Have you ever stopped to think about how many apps ask for your credentials these days? From social media to banking, streaming services to food delivery—they all want to make sure you’re really you. Let’s dive into how to implement secure authentication in SwiftUI that not only keeps user data safe but also provides a smooth, iOS-native experience.
Understanding the Authentication Challenge
Before we jump into code, let’s appreciate the complexity here. Authentication isn’t just about matching usernames and passwords - it’s about creating a secure system that protects user data while still being convenient enough that people won’t bypass it out of frustration. In iOS, this means embracing Apple’s security frameworks and following platform patterns.
Setting Up Our Authentication Architecture
The foundation of any solid authentication system is a well-structured architecture. Let’s build one that follows modern SwiftUI patterns:
import SwiftUI
import Combine

class AuthenticationManager: ObservableObject {
    @Published var isAuthenticated = false
    @Published var authenticationError: String?
    @Published var isLoading = false

    private var cancellables = Set<AnyCancellable>()

    func login(username: String, password: String) {
        isLoading = true
        authenticationError = nil

        // In a real app, you'd make a secure API call here
        authenticateUser(username: username, password: password)
            .receive(on: DispatchQueue.main)
            .sink(receiveCompletion: { [weak self] completion in
                self?.isLoading = false
                if case .failure(let error) = completion {
                    self?.authenticationError = error.localizedDescription
                }
            }, receiveValue: { [weak self] success in
                self?.isAuthenticated = success
            })
            .store(in: &cancellables)
    }

    func logout() {
        isAuthenticated = false
    }

    // This would be your API service in a real application
    private func authenticateUser(username: String, password: String) -> AnyPublisher<Bool, Error> {
        // Simulate network request
        return Future<Bool, Error> { promise in
            DispatchQueue.global().asyncAfter(deadline: .now() + 1.5) {
                // For demo purposes only! In a real app, NEVER hardcode credentials
                if username == "demo" && password == "password" {
                    promise(.success(true))
                } else {
                    promise(.failure(AuthenticationError.invalidCredentials))
                }
            }
        }
        .eraseToAnyPublisher()
    }
}

enum AuthenticationError: Error {
    case invalidCredentials
    case customMessage(String)

    var localizedDescription: String {
        switch self {
        case .invalidCredentials:
            return "The username or password you entered is incorrect."
        case .customMessage(let error):
            return error
        }
    }
}
What’s cool about this approach is how seamlessly it integrates with SwiftUI’s state management. The @Published properties automatically trigger UI updates when authentication state changes, and Combine gives us a clean way to handle asynchronous operations.
Creating the Login View
Now for the fun part—creating a login interface that’s both secure and user-friendly:
struct LoginView: View {
    @StateObject private var viewModel = LoginViewModel()
    @EnvironmentObject var authManager: AuthenticationManager

    @State private var username = ""
    @State private var password = ""
    @State private var isShowingPassword = false

    var body: some View {
        NavigationView {
            Form {
                Section(header: Text("Credentials")) {
                    TextField("Username", text: $username)
                        .autocapitalization(.none)
                        .disableAutocorrection(true)

                    // Secure password field with visibility toggle
                    HStack {
                        if isShowingPassword {
                            TextField("Password", text: $password)
                        } else {
                            SecureField("Password", text: $password)
                        }

                        Button(action: {
                            isShowingPassword.toggle()
                        }) {
                            Image(systemName: isShowingPassword ? "eye.slash" : "eye")
                                .foregroundColor(.gray)
                        }
                    }
                }

                if let error = authManager.authenticationError {
                    Section {
                        Text(error)
                            .foregroundColor(.red)
                    }
                }

                Section {
                    Button("Log In") {
                        authManager.login(username: username, password: password)
                    }
                    .disabled(username.isEmpty || password.isEmpty || authManager.isLoading)
                    .frame(maxWidth: .infinity)

                    if authManager.isLoading {
                        HStack {
                            Spacer()
                            ProgressView()
                                .progressViewStyle(CircularProgressViewStyle())
                            Spacer()
                        }
                    }
                }

                Section {
                    Button("Forgot Password?") {
                        // Handle password reset
                    }
                    .foregroundColor(.blue)
                    .frame(maxWidth: .infinity)
                }
            }
            .navigationTitle("Welcome Back")
            .onAppear {
                // Check for existing credentials in the keychain
                checkForSavedCredentials()
            }
        }
    }

    private func checkForSavedCredentials() {
        // In a real app, you would check the keychain for saved credentials
    }
}

class LoginViewModel: ObservableObject {
    // Additional view-specific logic could go here
}
Did you notice the little password visibility toggle? It’s a small UX detail that makes a big difference for users who want to verify what they’ve typed. This is especially helpful on mobile where typing errors are common, but we’re still being security-conscious by making “hidden” the default state.
Using Apple’s Keychain for Secure Storage
Now, let’s add some real security by storing credentials in the iOS Keychain. This is way better than UserDefaults for sensitive information:
import Security

class KeychainManager {
    static let shared = KeychainManager()

    private init() {}

    func saveCredentials(username: String, token: String) -> Bool {
        // Create the query dictionary
        let query: [String: Any] = [
            kSecClass as String: kSecClassGenericPassword,
            kSecAttrAccount as String: username,
            kSecValueData as String: token.data(using: .utf8)!,
            kSecAttrAccessible as String: kSecAttrAccessibleWhenUnlocked
        ]

        // First remove any existing item
        SecItemDelete(query as CFDictionary)

        // Add the new item
        let status = SecItemAdd(query as CFDictionary, nil)
        return status == errSecSuccess
    }

    func getToken(for username: String) -> String? {
        let query: [String: Any] = [
            kSecClass as String: kSecClassGenericPassword,
            kSecAttrAccount as String: username,
            kSecReturnData as String: true,
            kSecMatchLimit as String: kSecMatchLimitOne
        ]

        var dataTypeRef: AnyObject?
        let status = SecItemCopyMatching(query as CFDictionary, &dataTypeRef)

        if status == errSecSuccess, let retrievedData = dataTypeRef as? Data,
           let token = String(data: retrievedData, encoding: .utf8) {
            return token
        }

        return nil
    }

    func removeCredentials(for username: String) -> Bool {
        let query: [String: Any] = [
            kSecClass as String: kSecClassGenericPassword,
            kSecAttrAccount as String: username
        ]

        let status = SecItemDelete(query as CFDictionary)
        return status == errSecSuccess
    }
}
The Keychain API might seem a bit intimidating at first with all those kSec constants, but it’s Apple’s most secure way to store sensitive data. Think of it as a specialized vault specifically designed for credentials and secrets.
Implementing Biometric Authentication
Let’s take security up another notch with Face ID or Touch ID. This is where iOS really shines with its integrated biometric systems:
import LocalAuthentication

extension AuthenticationManager {
    func authenticateWithBiometrics() {
        let context = LAContext()
        var error: NSError?

        // Check if biometric authentication is available
        if context.canEvaluatePolicy(.deviceOwnerAuthenticationWithBiometrics, error: &error) {
            let reason = "Log in to your account"

            context.evaluatePolicy(.deviceOwnerAuthenticationWithBiometrics, localizedReason: reason) { [weak self] success, error in
                DispatchQueue.main.async {
                    if success {
                        // Biometric authentication successful
                        self?.isAuthenticated = true
                    } else {
                        // Handle error
                        if let error = error {
                            self?.authenticationError = error.localizedDescription
                        }
                    }
                }
            }
        } else {
            // Biometrics not available
            if let error = error {
                authenticationError = "Biometric authentication not available: \(error.localizedDescription)"
            }
        }
    }
}
Now let’s add a biometric authentication button to our login screen:
Section {
    Button(action: {
        authManager.authenticateWithBiometrics()
    }) {
        HStack {
            Image(systemName: LAContext().biometryType == .faceID ? "faceid" : "touchid")
            Text("Sign in with \(LAContext().biometryType == .faceID ? "Face ID" : "Touch ID")")
        }
    }
    .frame(maxWidth: .infinity)
}
.opacity(LAContext().canEvaluatePolicy(.deviceOwnerAuthenticationWithBiometrics, error: nil) ? 1 : 0)
I love how this adapts to whatever biometric capability the device has. It’ll show “Face ID” on newer iPhones and “Touch ID” on devices with fingerprint sensors all automatically!
Managing the Authentication State in Your App
To tie everything together, we need a way to control which parts of the app are accessible based on authentication status:
@main
struct AuthenticationApp: App {
    @StateObject private var authManager = AuthenticationManager()

    var body: some Scene {
        WindowGroup {
            ContentView()
                .environmentObject(authManager)
        }
    }
}

struct ContentView: View {
    @EnvironmentObject var authManager: AuthenticationManager

    var body: some View {
        Group {
            if authManager.isAuthenticated {
                MainTabView()
            } else {
                LoginView()
            }
        }
        .animation(.easeInOut, value: authManager.isAuthenticated)
    }
}

struct MainTabView: View {
    @EnvironmentObject var authManager: AuthenticationManager

    var body: some View {
        TabView {
            HomeView()
                .tabItem {
                    Label("Home", systemImage: "house")
                }

            ProfileView()
                .tabItem {
                    Label("Profile", systemImage: "person")
                }

            SettingsView()
                .tabItem {
                    Label("Settings", systemImage: "gear")
                }
        }
        .toolbar {
            ToolbarItem(placement: .navigationBarTrailing) {
                Button("Log Out") {
                    authManager.logout()
                }
            }
        }
    }
}
This pattern is pure SwiftUI elegance - we’re using an environment object to propagate authentication state throughout the app, and SwiftUI automatically handles showing either the login screen or the main interface.
Implementing Secure Token Refresh
One aspect of authentication that’s often overlooked is token refreshing. Here’s how to handle it gracefully:
extension AuthenticationManager {
    func refreshAuthToken() {
        guard let refreshToken = getRefreshToken() else {
            // No refresh token available, log user out
            logout()
            return
        }

        isLoading = true

        // In a real app, this would be an API call to refresh the token
        performTokenRefresh(with: refreshToken)
            .receive(on: DispatchQueue.main)
            .sink(receiveCompletion: { [weak self] completion in
                self?.isLoading = false
                if case .failure = completion {
                    // If refresh fails, log the user out
                    self?.logout()
                }
            }, receiveValue: { [weak self] newToken in
                // Store the new token
                self?.saveAuthToken(newToken)
            })
            .store(in: &cancellables)
    }

    private func performTokenRefresh(with refreshToken: String) -> AnyPublisher<String, Error> {
        // Simulate token refresh
        return Future<String, Error> { promise in
            DispatchQueue.global().asyncAfter(deadline: .now() + 1.0) {
                // In a real app, this would validate the refresh token with your server
                if refreshToken.count > 10 {
                    promise(.success("new-auth-token-\(UUID().uuidString)"))
                } else {
                    promise(.failure(AuthenticationError.invalidRefreshToken))
                }
            }
        }
        .eraseToAnyPublisher()
    }

    private func getRefreshToken() -> String? {
        return KeychainManager.shared.getToken(for: "refreshToken")
    }

    private func saveAuthToken(_ token: String) {
        _ = KeychainManager.shared.saveCredentials(username: "authToken", token: token)
    }
}

extension AuthenticationError {
    static let invalidRefreshToken = AuthenticationError.customMessage("Refresh token is invalid or expired")
}
Automatic token refreshing is like having a concierge that renews your building access card before it expires—users never have to worry about sudden logouts due to expired tokens.
Testing Your Authentication Flow
Before shipping, thorough testing is crucial. Here’s a simple test approach:
import XCTest
@testable import YourAppName

class AuthenticationTests: XCTestCase {
    var authManager: AuthenticationManager!

    override func setUp() {
        super.setUp()
        authManager = AuthenticationManager()
    }

    override func tearDown() {
        authManager = nil
        super.tearDown()
    }

    func testSuccessfulLogin() {
        // Given
        let expectation = XCTestExpectation(description: "Login completes successfully")

        // When
        authManager.login(username: "demo", password: "password")

        // Then
        DispatchQueue.main.asyncAfter(deadline: .now() + 2) {
            XCTAssertTrue(self.authManager.isAuthenticated)
            XCTAssertNil(self.authManager.authenticationError)
            expectation.fulfill()
        }

        wait(for: [expectation], timeout: 3)
    }

    func testFailedLogin() {
        // Given
        let expectation = XCTestExpectation(description: "Login fails with wrong credentials")

        // When
        authManager.login(username: "demo", password: "wrongpassword")

        // Then
        DispatchQueue.main.asyncAfter(deadline: .now() + 2) {
            XCTAssertFalse(self.authManager.isAuthenticated)
            XCTAssertNotNil(self.authManager.authenticationError)
            expectation.fulfill()
        }

        wait(for: [expectation], timeout: 3)
    }
}
Security Best Practices
Here are some additional security tips that every iOS authentication system should follow:
-
Never store passwords in plain text, not even in the Keychain. Store authentication tokens instead.
-
Implement certificate pinning to prevent man-in-the-middle attacks:
class NetworkManager {
    func setupCertificatePinning() {
        let serverTrust = ServerTrustManager(evaluators: [
            "api.yourdomain.com": PinnedCertificatesTrustEvaluator()
        ])

        // If using Alamofire
        let session = Session(serverTrustManager: serverTrust)
    }
}
- Add jailbreak detection to prevent running on compromised devices:
func isDeviceJailbroken() -> Bool {
    #if targetEnvironment(simulator)
    return false
    #else
    let paths = [
        "/Applications/Cydia.app",
        "/Library/MobileSubstrate/MobileSubstrate.dylib",
        "/bin/bash",
        "/usr/sbin/sshd",
        "/etc/apt",
        "/usr/bin/ssh"
    ]

    for path in paths {
        if FileManager.default.fileExists(atPath: path) {
            return true
        }
    }

    if canOpenURL(URL(string: "cydia://package/com.example.package")!) {
        return true
    }

    return false
    #endif
}
- Add app transport security settings in your Info.plist to enforce HTTPS:
<key>NSAppTransportSecurity</key>
<dict>
    <key>NSAllowsArbitraryLoads</key>
    <false/>
    <key>NSExceptionDomains</key>
    <dict>
        <key>yourdomain.com</key>
        <dict>
            <key>NSIncludesSubdomains</key>
            <true/>
            <key>NSThirdPartyExceptionRequiresForwardSecrecy</key>
            <false/>
        </dict>
    </dict>
</dict>
Conclusion
Building secure authentication for iOS isn’t just about checking usernames and passwords—it’s about creating a comprehensive security system that protects user data while providing a seamless experience. By leveraging SwiftUI’s state management, Apple’s security frameworks like Keychain and LocalAuthentication, and following best practices for handling authentication tokens, you can build a robust authentication flow that users will trust.
Remember that security is an ongoing process, not a one-time implementation. Stay updated with Apple’s latest security recommendations and regularly audit your authentication code to ensure it remains secure against evolving threats.
I hope you’ve enjoyed this deep dive into iOS authentication. In the next article, we’ll explore how to implement secure networking to complement your authentication system. Until then, happy coding!